


Overview
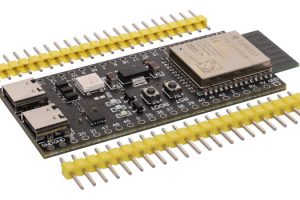
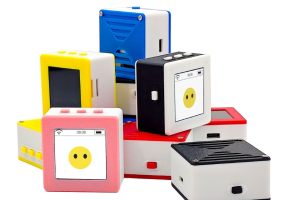
The Insight1 ESP32-S3 STEM Learning Kit is a kid- and beginner-friendly introduction to coding, electronics, music, and AI. Learners progress through guided activities that turn programming concepts into real results they can see, hear, touch, and interact with.
No advanced coding experience is required. The course begins with basic setup and simple experiments before moving into complete projects such as the Happy Fruit Piano and XiaoZhi AI voice assistant.
Learning Levels
Build a strong foundation in coding, electronics, and music through guided ESP32-S3 lessons and hands-on activities. Learners explore how touch inputs, lights, sound, and displays work together as they build, test, and improve their own Happy Fruit Piano.
Complete the full learning journey by expanding from coding, electronics, and music into artificial intelligence. After building the Happy Fruit Piano, learners explore XiaoZhi AI, voice interaction, and AIoT—the integration of AI with connected physical devices—to create more advanced and interactive ESP32-S3 projects.
Learning Materials
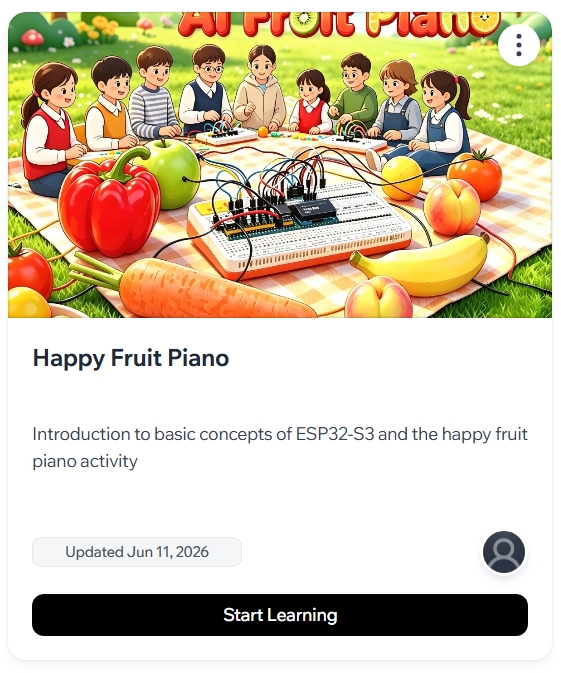
Log-in on our learning management system to access all the course materials to aid your learning. The video lessons, quizzes, project code, and instructional materials are housed together inside our LMS. This keeps the learning journey organized and makes it easy for learners to move between lessons, review previous topics, and access the resources they need while completing each activity.
Access Course MaterialsWhat You'll Get
Step-by-step video lessons walk learners through the project, from identifying the components and connecting the hardware to writing code, testing the system, and using its different features. Videos can be paused and replayed, allowing learners to progress at their own pace.
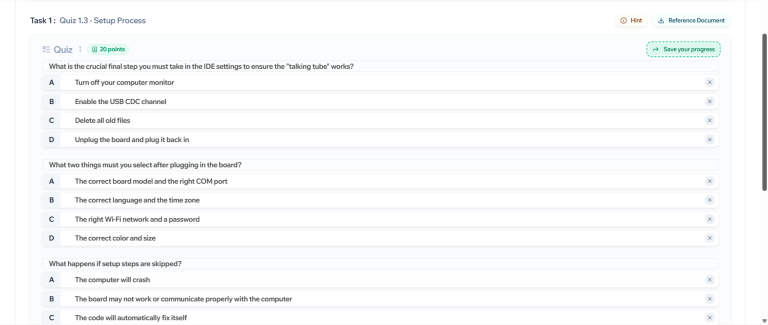
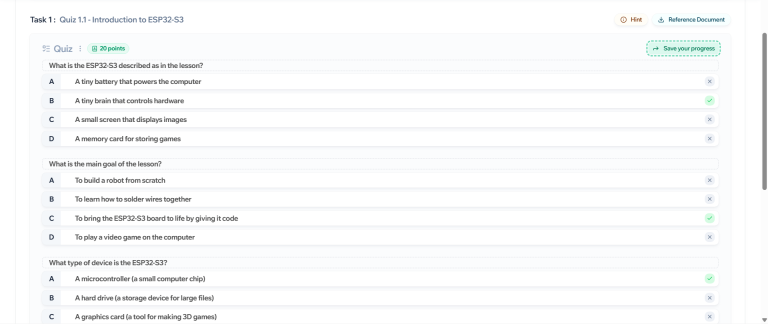
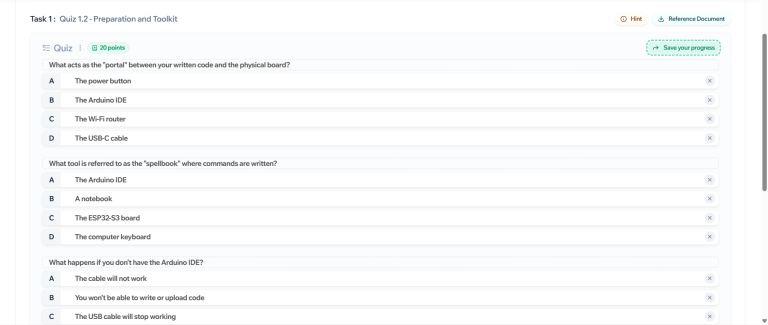
Short quizzes are provided throughout the course to reinforce important concepts and help learners check their understanding.
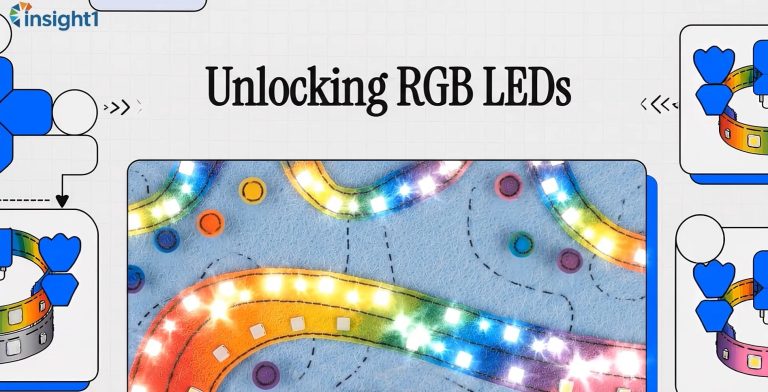
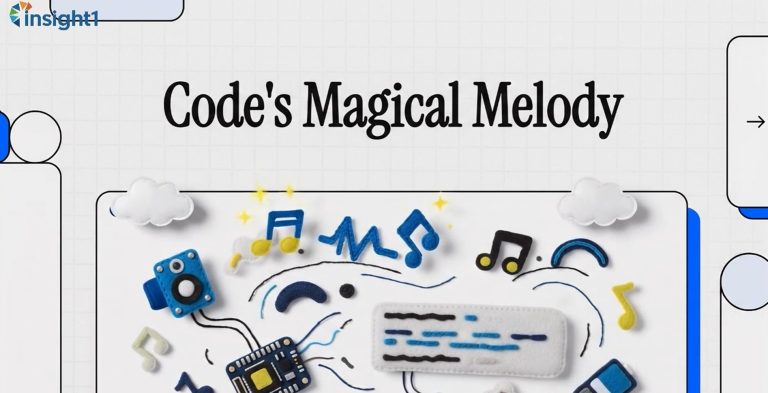
Interactive slide presentations combine visual explanations, diagrams, activity instructions, and key programming concepts in one structured learning experience. Some slides include short quizzes that allow learners to immediately check their understanding while more difficult concepts are supported by short video explanations.
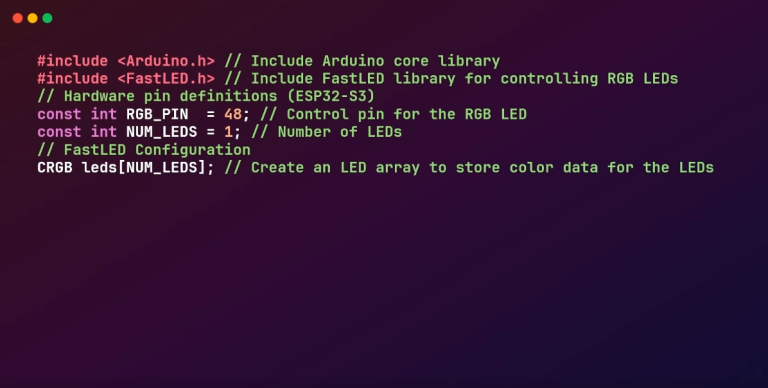
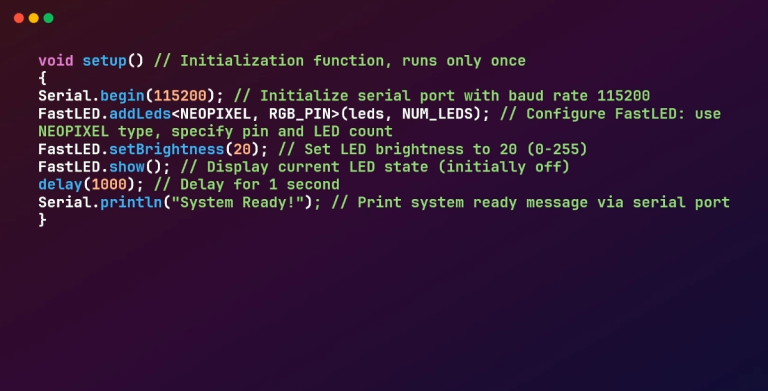
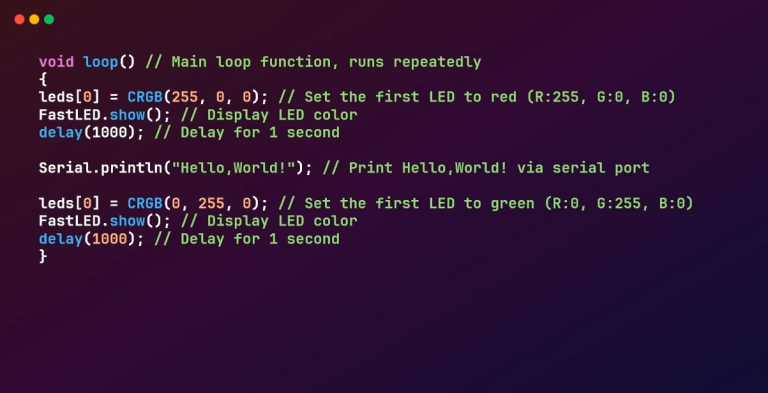
Learners receive the code needed for each hands-on activity. The provided programs help them test individual components before combining them into the complete Wireless Fruit Piano. Using these materials, learners gradually develop their skills by building, testing, troubleshooting, and improving real electronic projects.
Learning Materials Preview
Software Installation
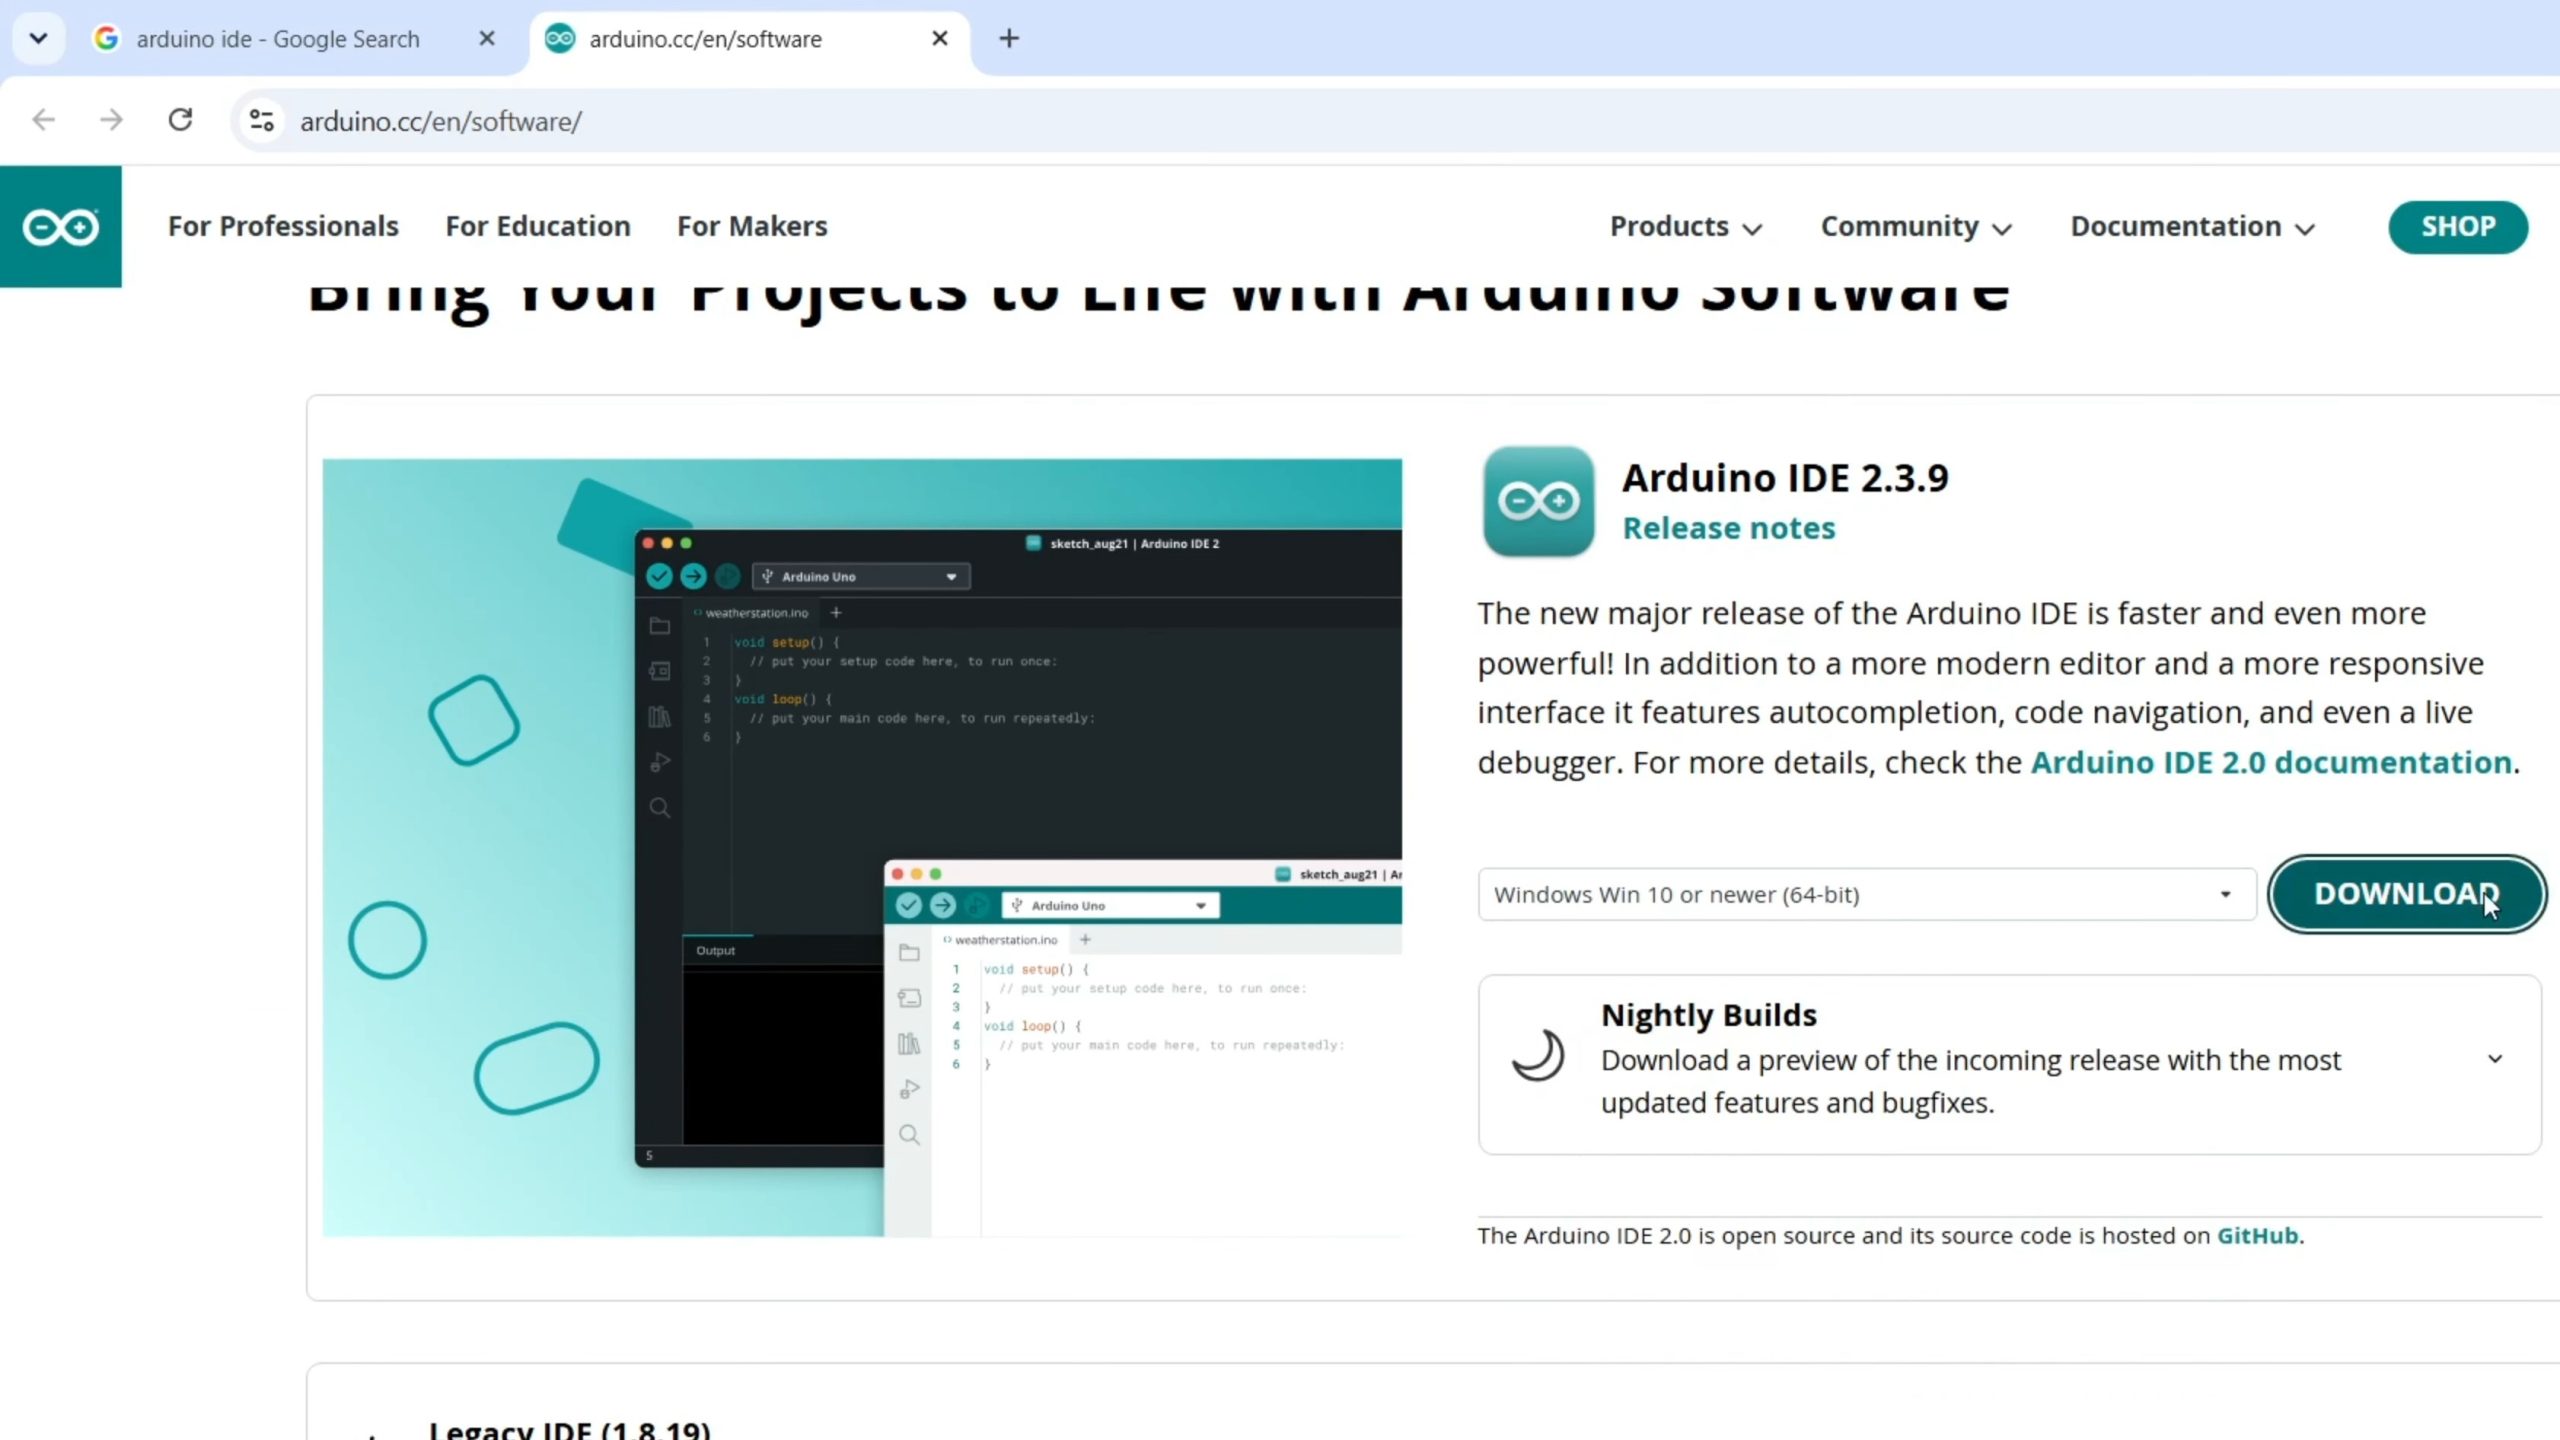
1. Open your browser and go to https://www.arduino.cc/en/software
2. Choose the version matching your operating system– Windows users: choose Win 10 and newer, 64 bit (.exe or .msi both work)
3. Once downloaded, double-click the installer and click "Next" / "Continue" through all steps
4. After installation, the Arduino IDE icon will appear on your desktop — double-click to open
1. Open Arduino IDE
2. Click File → Preferences (macOS: Arduino IDE → Settings)
3. Find the “Additional boards manager URLs” field
4. Paste the following URL into the input box (if there’s already a URL there, add a new line and paste): https://espressif.github.io/arduino-esp32/package_esp32_index.json
5. Click OK to close the Preferences window
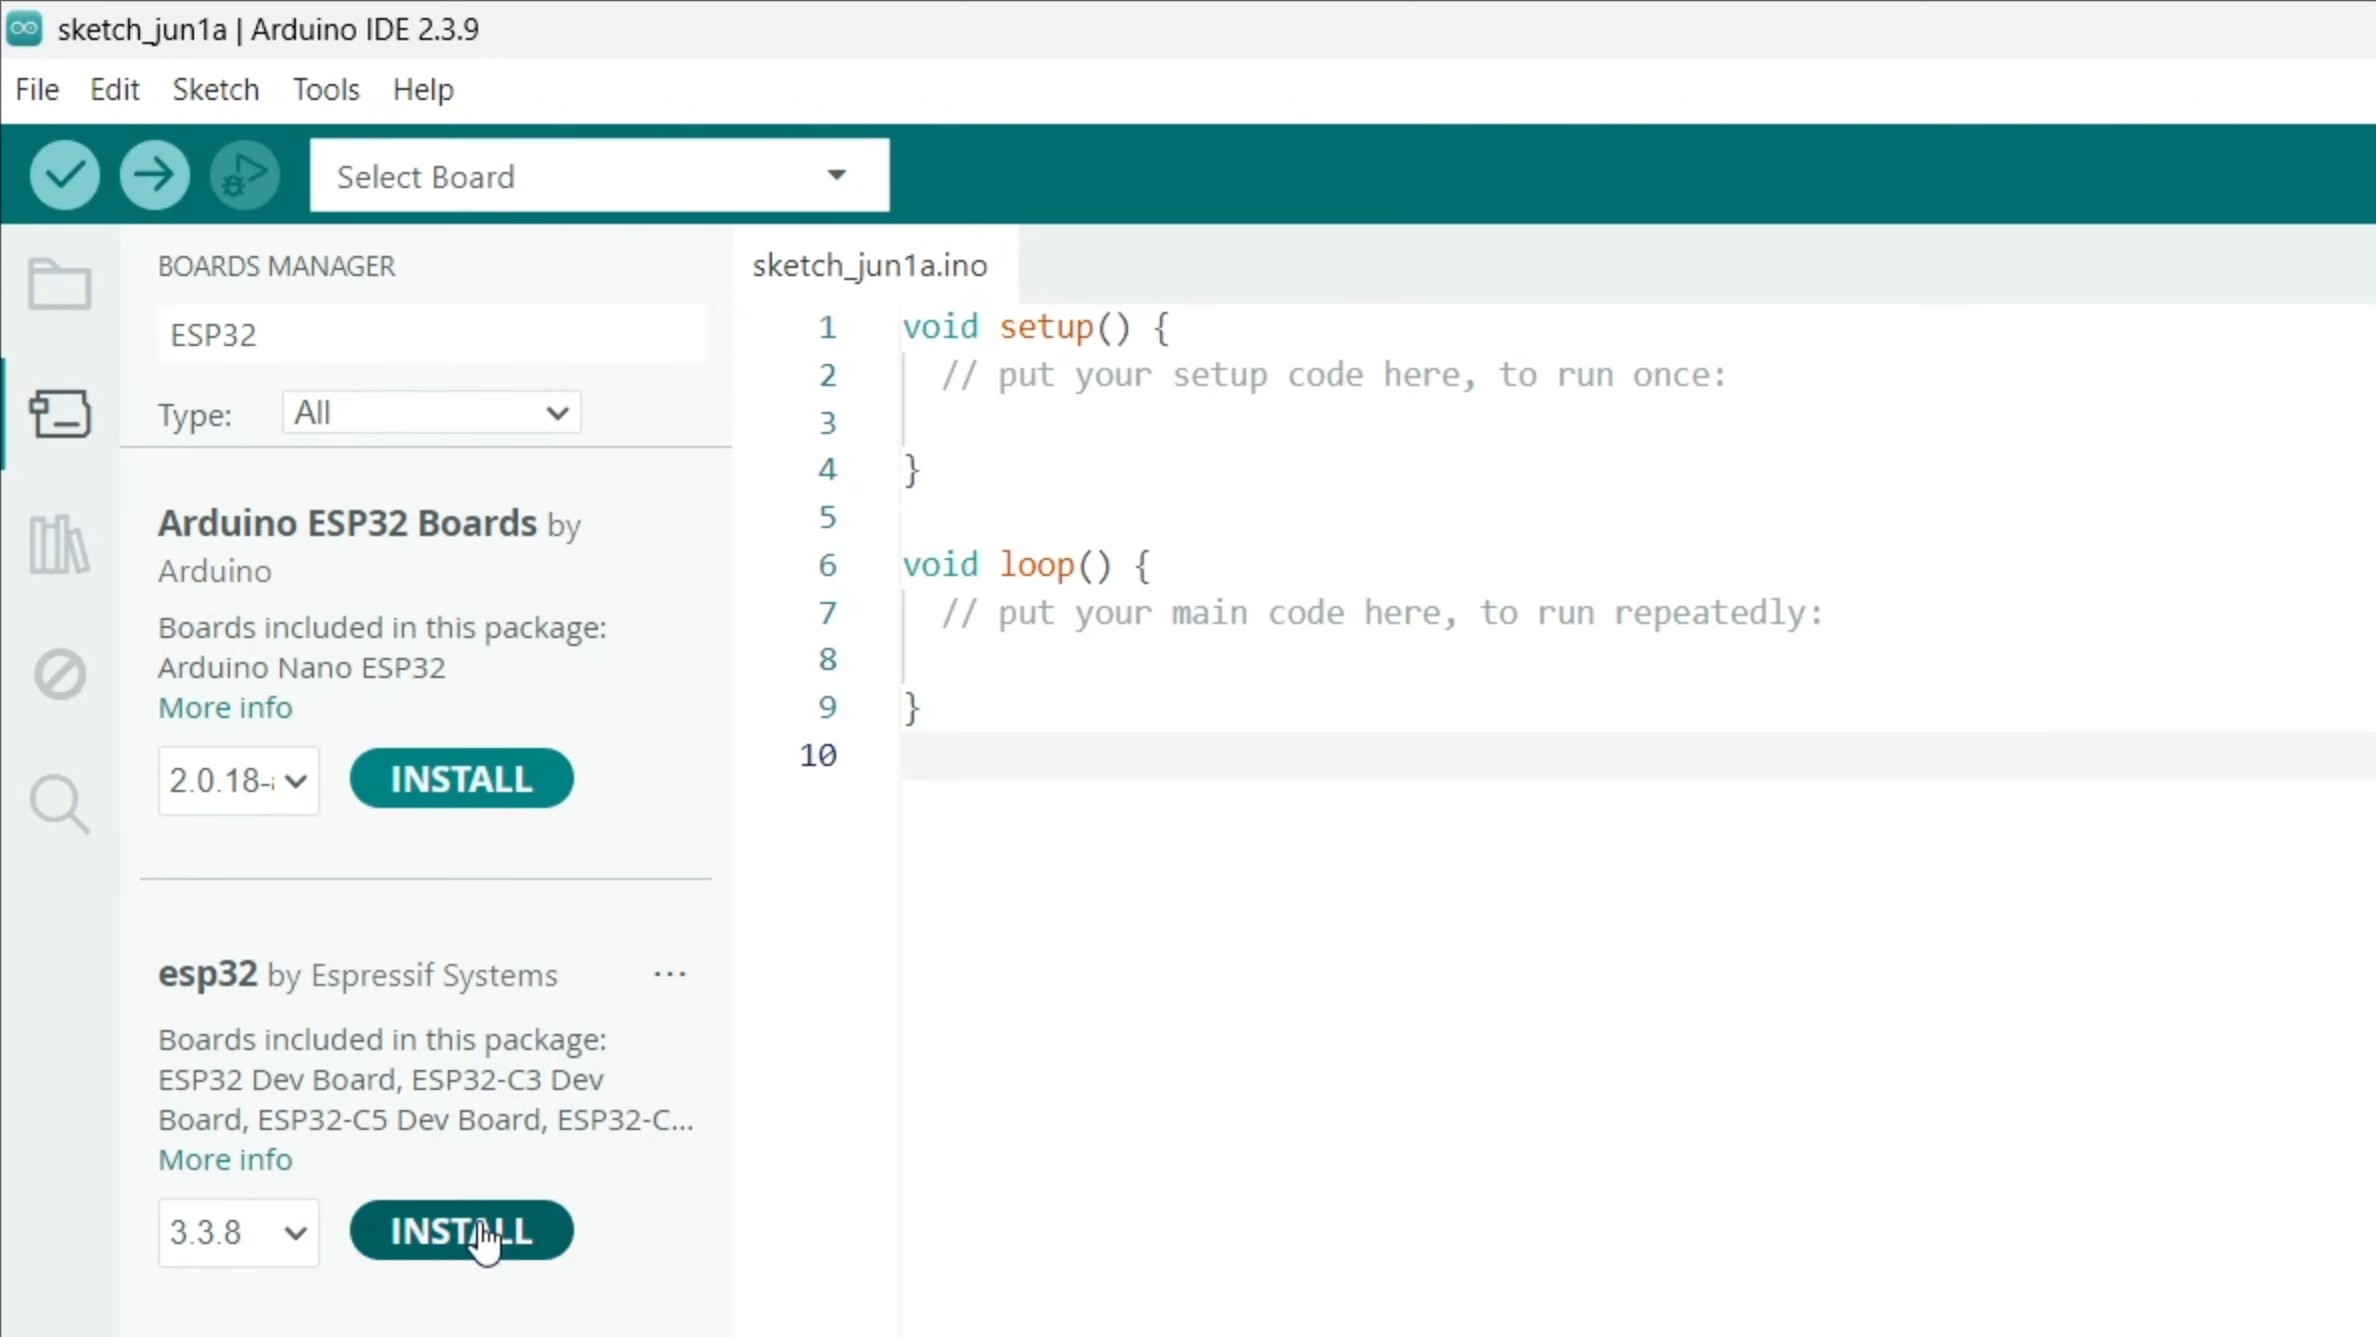
6. Click Tools → Board → Boards Manager
7. Type "esp32" in the search box
8. Find esp32 by Espressif Systems and click Install
9. Wait for installation to finish (may take 5–15 minutes depending on your internet speed). Close the Boards Manager when done
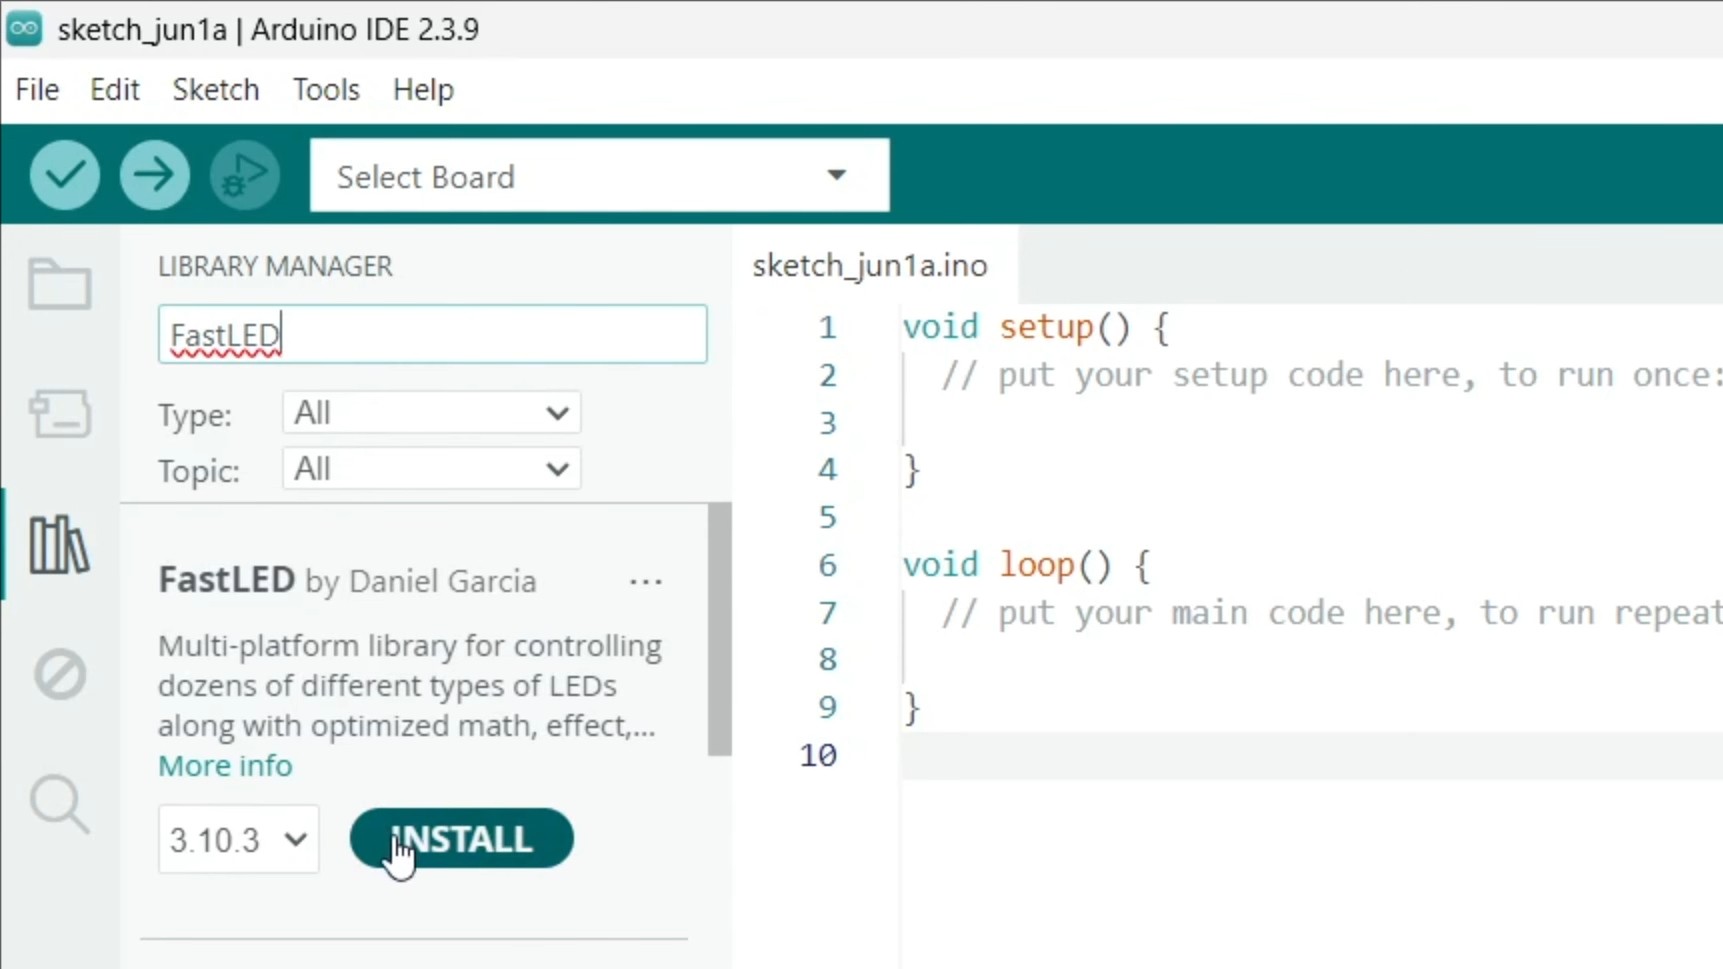
1. In Arduino IDE, click Sketch → Include Library → Manage Libraries
2. Type "FastLED", find FastLED by Daniel Garcia, click Install
3. Close the Library Manager
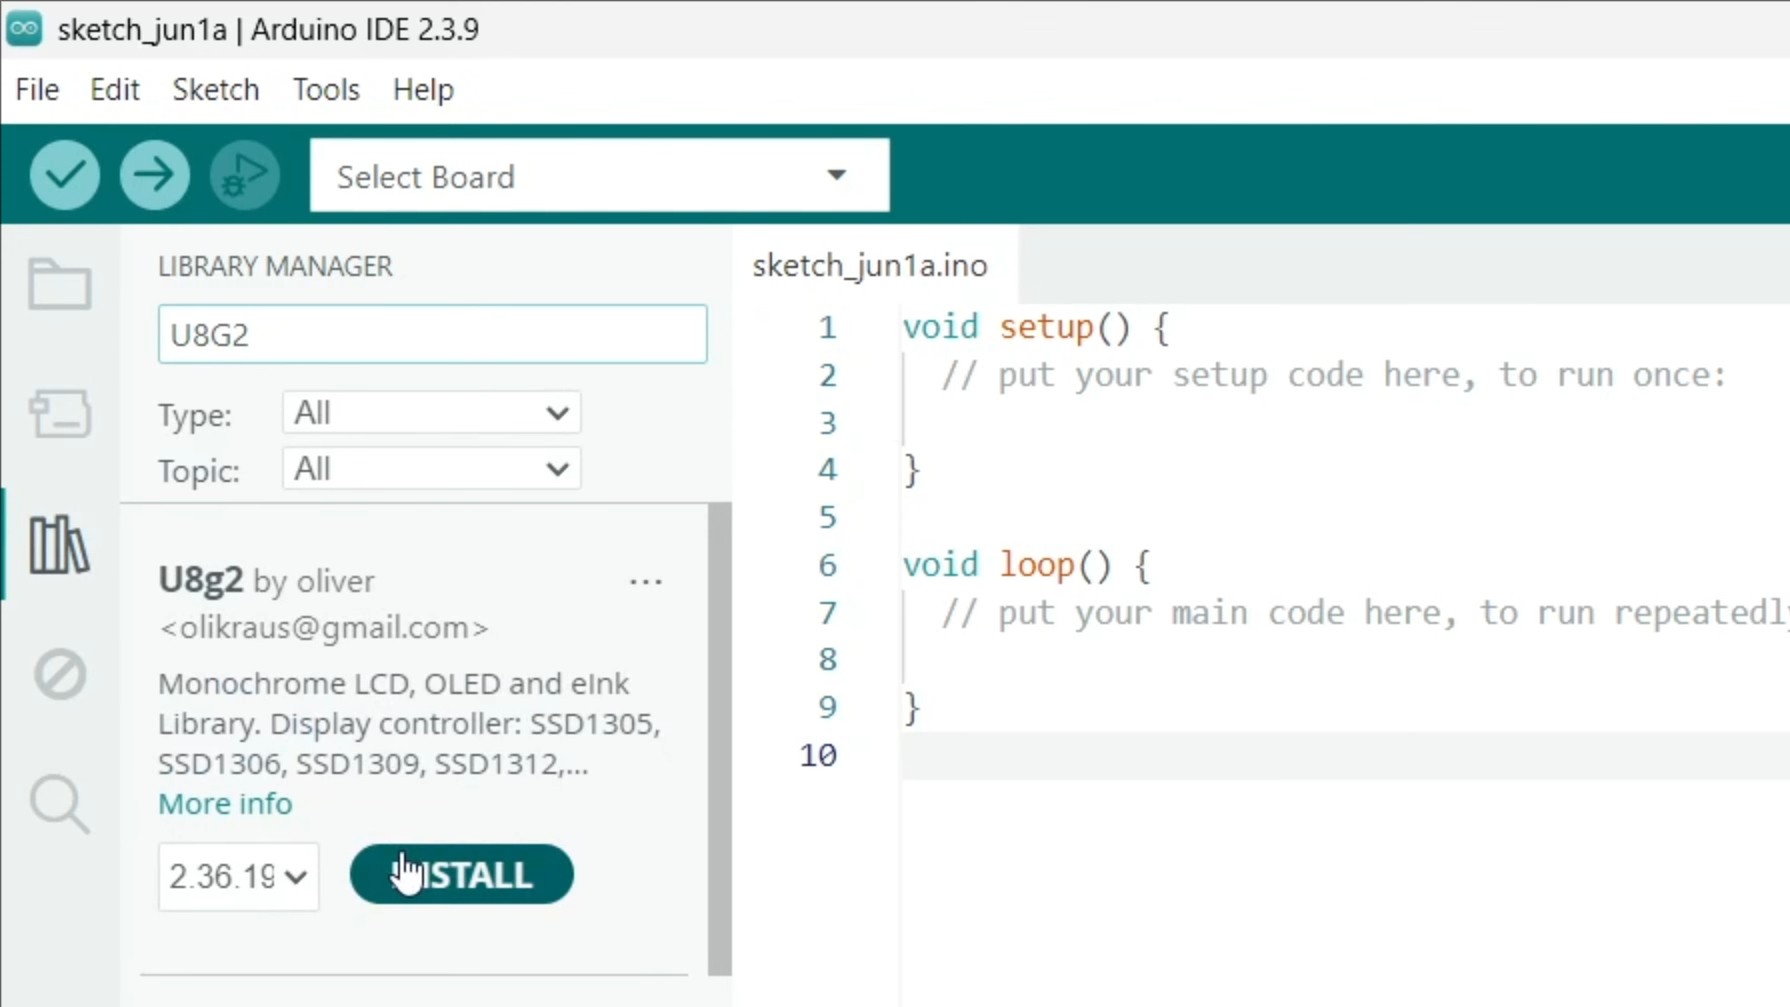
1. In Arduino IDE, click Sketch → Include Library → Manage Libraries
2. Type "U8g2", find "U8g2 by oliver", click Install
3. Close the Library Manager
Hardware Wiring
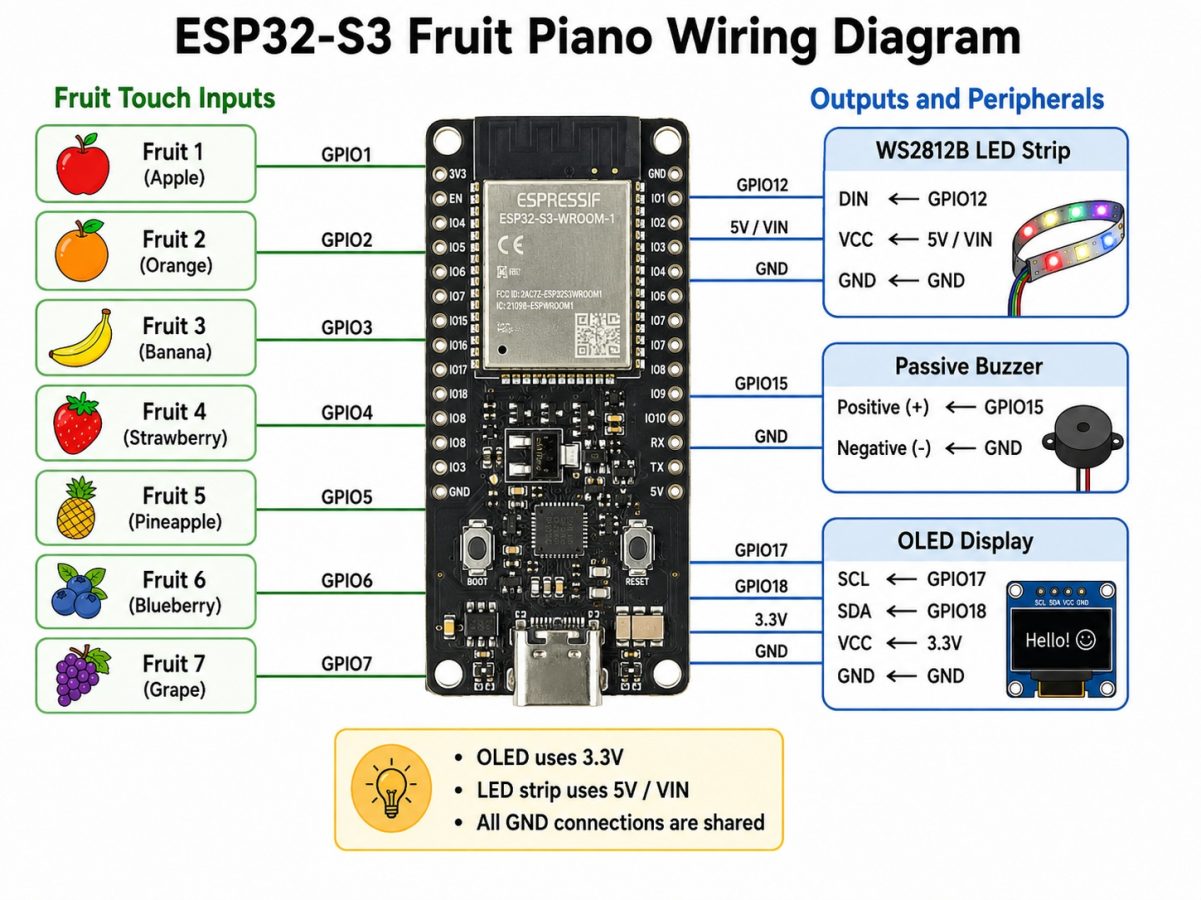
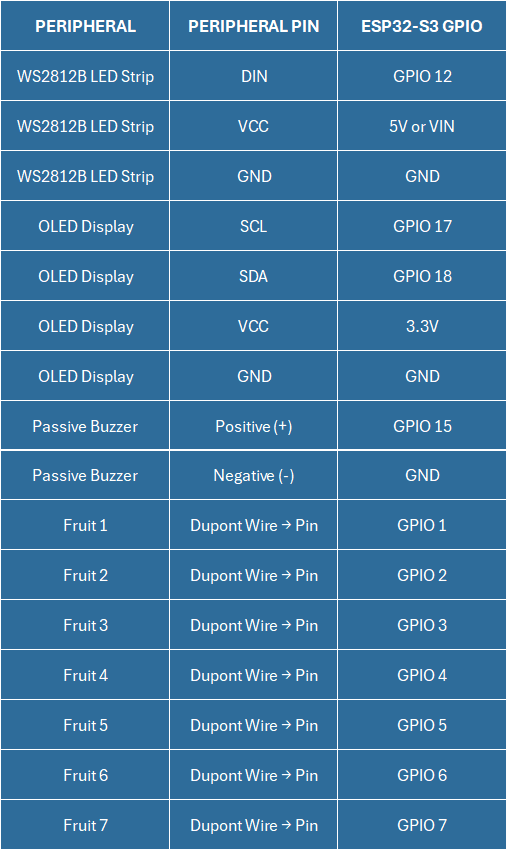
Wiring Table and Diagram
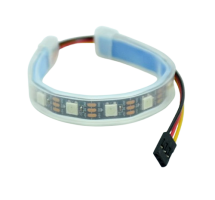
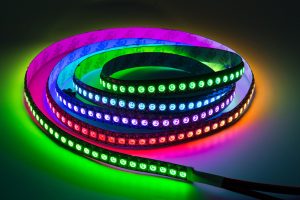
- The LED strip has three wires (usually labeled at one end): DIN (data), 5V (power), GND (ground)
- Using Dupont wires: DIN → board GPIO12, 5V → board 5V, GND → board GND
- Note: LED strips usually have a directional arrow — make sure the signal flows from the board toward the far end of the strip
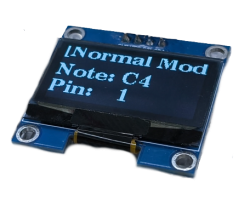
- OLED typically has 4 pins: VCC, GND, SCL, SDA
- VCC → board 3.3V, GND → board GND, SCL → GPIO17, SDA → GPIO18
- Note: The OLED runs on 3.3V (not 5V!). Connecting to the wrong voltage may burn the screen
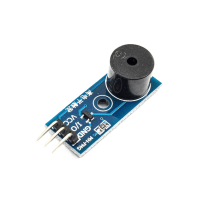
- A passive buzzer module typically has 3 pins: VCC, GND, I/O (signal)
- If it's a bare buzzer (only 2 legs): positive → GPIO15, negative → GND
- If it's a module (3 pins): VCC → 3.3V, GND → GND, I/O → GPIO15
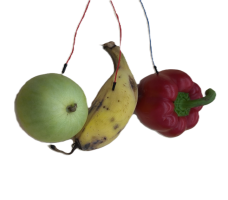
- Use Dupont wires: one end goes to GPIO1–GPIO7 on the board
- Insert the other end into the corresponding fruit (you can make a small cut on the fruit and insert the copper wire core, or use a small metal piece inserted into the flesh, then connect the wire)
- Make sure each pin corresponds to a different type of fruit
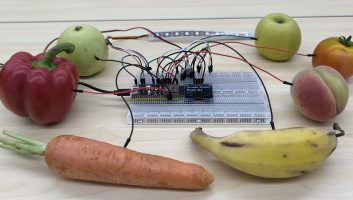
- After wiring is complete, check everything once more:
- Are all GNDs connected together?
- Is the OLED connected to 3.3V and not 5V?
- Are the fruit Dupont wires securely inserted?
XiaoZhi AI Module
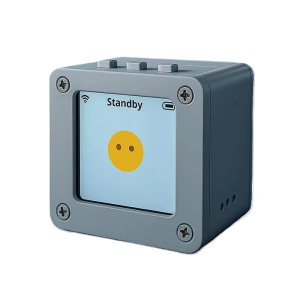
- Power on both the fruit piano and the AI module
- On the XiaoZhi AI, open the device scanning interface
- The module discovers the device "FruitPiano01" (type:"piano")
- Tap to pair
- Once paired successfully, the first line on the fruit piano's OLED screen shows "WiFi: OK"
- After the AI's TRY test passes, the link is fully established




Related Guides