




Overview
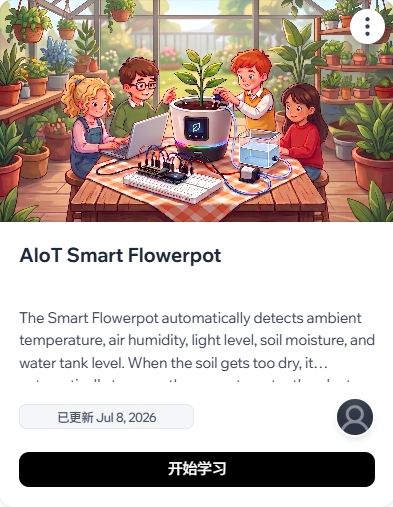
The Smart Flowerpot automatically detects ambient temperature, air humidity, light level, soil moisture, and water tank level. When the soil gets too dry, it automatically turns on the pump to water the plant. An OLED screen displays current readings, while an RGB LED and buzzer provide status alerts. When paired with a "XiaoZhi AI host," you can also remotely query the flowerpot status, manually water, set automatic watering strategies, and calibrate the soil sensor.
No advanced coding experience is required. The course begins with basic setup and simple experiments before moving into complete projects. Applicable project: PIO-esp32-espnow-flowerpot
Learning Materials
Log-in on our learning management system to access all the course materials to aid your learning. The video lessons, quizzes, project code, and instructional materials are housed together inside our LMS. This keeps the learning journey organized and makes it easy for learners to move between lessons, review previous topics, and access the resources they need while completing each activity.
Access Course MaterialsCore Capabilities
Software Installation
- Visit https://code.visualstudio.com/
- Download version for your OS
- Double-click installer and follow prompts
- Open VS Code after installation
- Open VS Code → Extensions panel
- Search for "PlatformIO IDE"
- Click Install, wait for completion
- Ant icon appears on left sidebar
- Common chips: CH340, CP2102
- Search and install CH340 or CP2102 driver
- Use a USB data cable
- Try different USB ports
- File → Open Folder in VS Code
- Select: PIO-esp32-espnow-flowerpot
- Verify: platformio.ini, include/, src/
- PlatformIO auto-installs dependencies
Hardware Wiring
Core Hardware Required
Wiring Steps
- DHT20, BH1750, OLED share the same I2C bus
- All SDA → GPIO17
- All SCL → GPIO18
- All VCC → 3.3V, All GND → GND
- HD-38: VCC → 3.3V, GND → GND
- AO → GPIO4 (DO leave unconnected)
- Uses analog output, safe range 0–3.3V
- XKC-Y21: Attach to outside of water tank
- OUT → GPIO5, VCC → 3.3V, GND → GND
- GPIO5 HIGH: normal, LOW: low water
- WS2812B: DIN → GPIO48, VCC → 5V, GND → GND
- Buzzer: Positive/IO → GPIO7, GND → GND
- LEDs are directional — data enters through DIN
- Relay control: VCC → 5V, GND → GND, IN → GPIO6
- Switching: COM → 5V+, NO → Pump+, Pump- → GND
- ⚠️ Only 5V DC — never connect to mains power!
- OLED, DHT20, BH1750 all connected to 3.3V
- HD-38 AO → GPIO4, Relay IN → GPIO6
- All GNDs share common ground
- Tubing secured away from electronics
RGB LED Status Guide
XiaoZhi AI Module
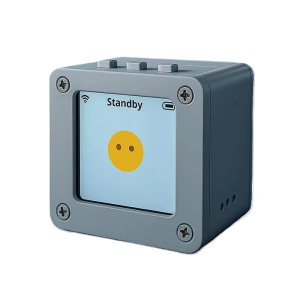
- Power on both the Smart Flowerpot and the XiaoZhi host
- Enter pairing or device scanning mode on the host
- Host discovers: device_type: flower_pot, name: smart-flowerpot
- Host initiates binding, flowerpot shows "Bound"
- Host runs TRY or RE_TRY to test the link